Salesforce introduces VSCode as a new development tool. Moreover, It allows us to download Salesforce files locally, make any changes and deploy updated files into Salesforce manually ( via right-clicking the updated file and choose the option to deploy changes file from the menu ). However, this manual process becomes cumbersome to see changes during Salesforce development.
Hence, I have created the gulp task runner which automate this manual process by automatic deployments of all changes every time the developers save the files locally.
Furthermore, this post covers how to use this custom task runner in every Salesforce development.
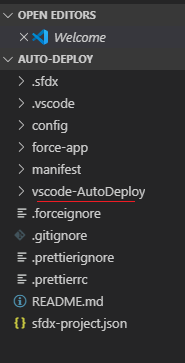
Afer clone it, it adds a folder “vscode-AutoDeploy” in the project folder.
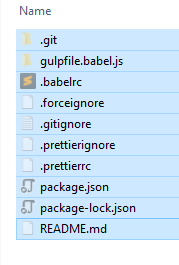
Navigate into “vscode-AutoDeploy”.
Select all the files, then cut them by press ctrl+x
Navigate out from the “vscode-AutoDeploy” folder.
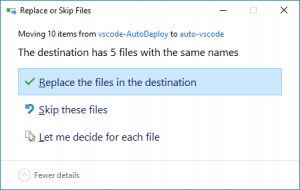
Paste the files in the root project.
It prompts a message to “Replace or Skip Files” window.
Choose replace, and click ok.
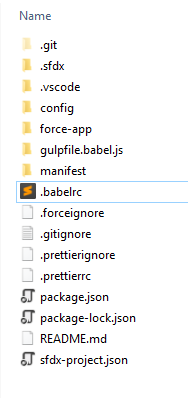
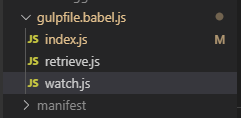
Delete “vscode-AutoDeploy” folder. Because it is empty. Hence, the file structure is like image below:
InfoSalesforce tasks runners are stored in gulpfile.babel.js folder
Noteswatch.js
contains sfdx command that is executed when there is a Salesforce file change
index.js
A map file to define tasks
retrieve.js
contains retrieve all files in SF based on package.xml in manifest folder
Install packages
Type command below in the command prompt:
npm install
InfoIt downloads and installs all related packages which are listed in the package.json file
Authorise an Org
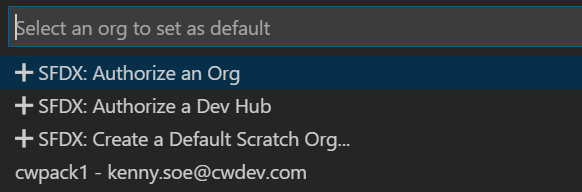
Press ctrl + shift + p, after that type “sfdx:authorize”.
Choose “SFDX: Authorize an Org”
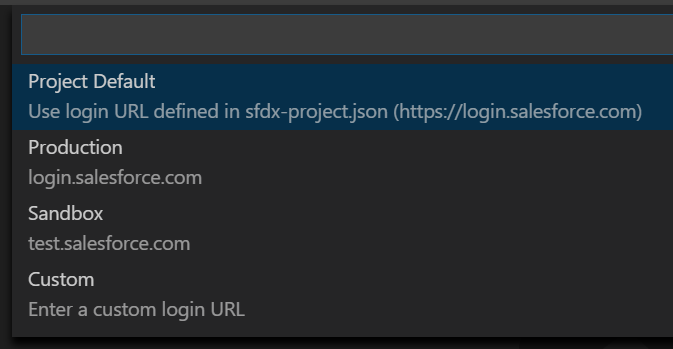
It prompts command pallete to choose type of org.
Accept default login URL or other org type as your need.
Enter alias name such as – vsCodeDev.
It prompts a web browser that navigate to Salesforce login page. Then, put existing user’s credential.
Close the web browser
Open up Visual Studio Code, look at the command prompt.
It displays that “Authorize has successful” at Output tab.
NoteFor detail steps of "Authorise an Org", follow my other post through this link
Run Auto Deployment to Salesforce
NoteAfter authorise an org, VSCode generally change the tab from Terminal to Output.
If that happens, ensure to navigate back to Terminal tab and follow steps below
In the terminal of Visual Studio code, type command below in command prompt:
gulp
The command above executes task runners are executed in the order below:
retrieve all files from Salesforce.
watch for changes in any files in the project folder.
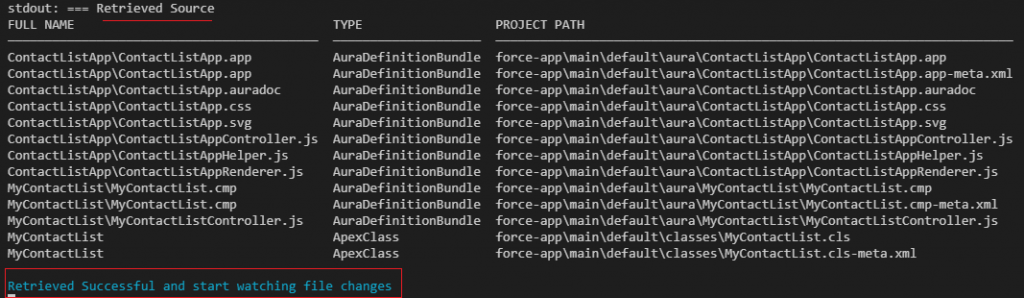
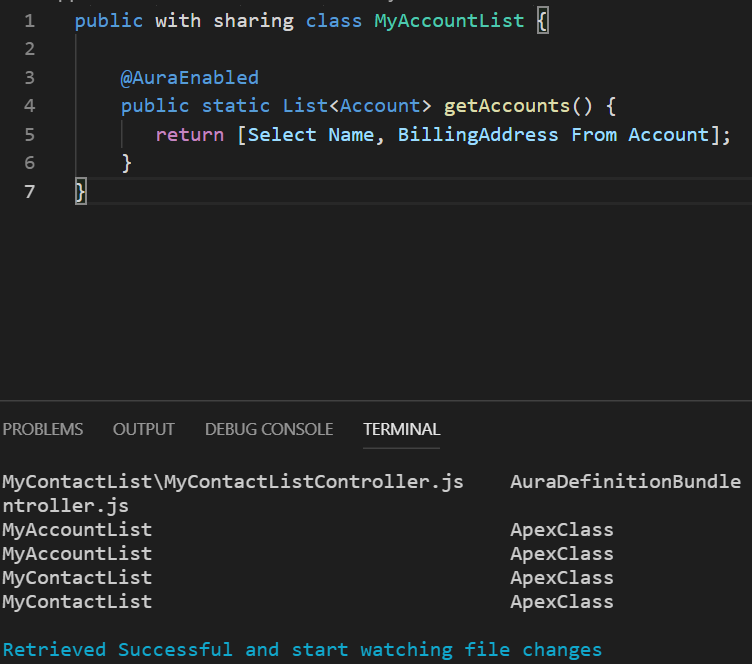
If retrieve successful, it displays a list of files that are retrieved from Salesforce similar to the image below:
InfoTime to retrieve all files can be varied depending on how large your custom files in the org.
NoteAfter that, Gulp switches to the watch stage and starts to monitor any changes in the project folder. If there are any changes and save them locally, Gulp automatically deploy them to Salesforce
Test Auto deployment
Test if auto-deployment works by making changes in any file in the project folder.
1. Open any apex file that is retrieved from Salesforce in VSCode.
Example - Before update
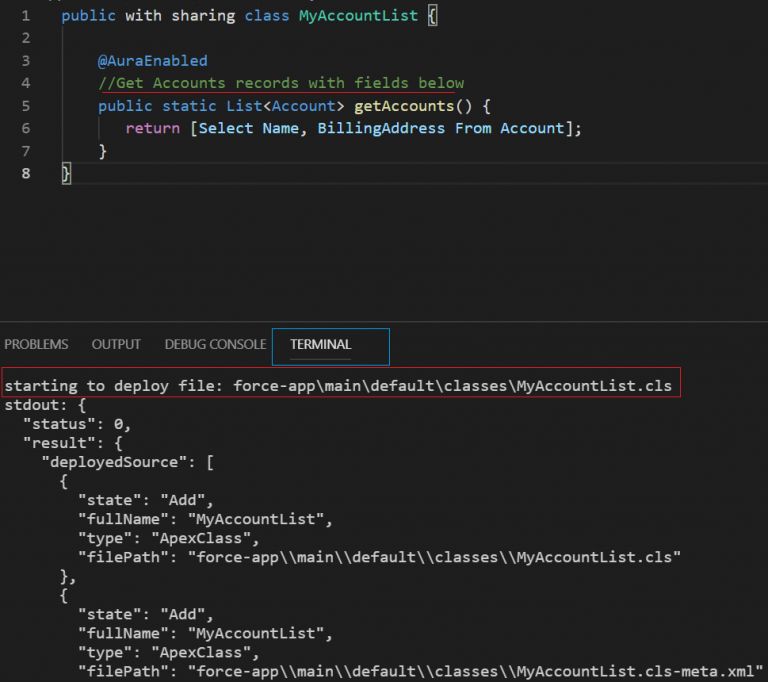
2. Make any changes and save the file by press ctrl + s
Example - After UpdateThe Apex file deploys automatically to Salesforce. VSCode provides deployment status at Terminal tab
InfoGulp automatically deploy changes into Salesforce.