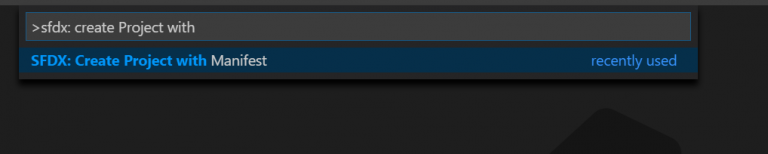
Press Ctrl + Shift + P on Windows or Command + Shift + P on Mac to open up command pallete.
Type “sfdx:Create Project“, it has IntelliSense that displays options to choose. Then, choose “sfdx:Create Project with Manifest”
It prompts a textfield to enter project name – put any project name
Example: vscodeTut or something else, then press enter. After that, command pallette will close
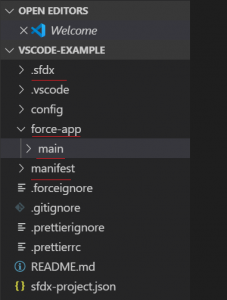
After command pallete has closed, it refreshes VSCode and reopen the project again with additional folders like image below:
main folder
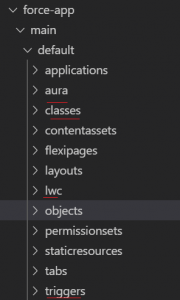
It has default folder. Inside default folder, it has salesforce core folders below:
classes folder – it contains all apex files.
triggers folder – it contains all trigger files
aura folder – it contains all Aura Component files
lwc folder – it contains all Lightning Web Component related files
2. Authorise an Org
Press ctrl + shift + p, after that type “sfdx:authorize”.
Choose “SFDX: Authorize an Org”
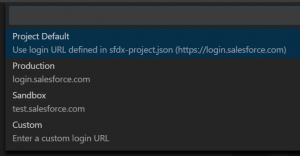
It prompts command pallete to choose type of org.
Accept default login URL
InfoIf trails sandbox, choose Production
Enter alias name such as – vsCodeDev
It prompts a web browser that navigate to Salesforce login page. Then, put existing user’s credential
InfoDon't embed token key in password textfield. If asked for "Allow Access", select Allow button
Close the web browser
Open up Visual Studio Code, look at the command prompt.
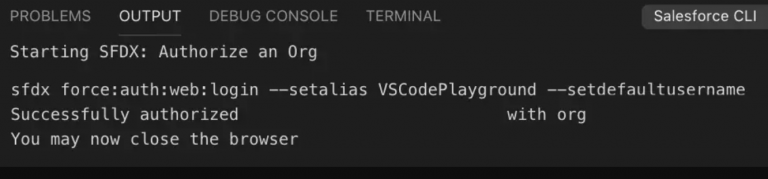
It displays that “Authorize has successful” at Output tab
3. Retrieve All Metadata from Saleseforce
manifest folder
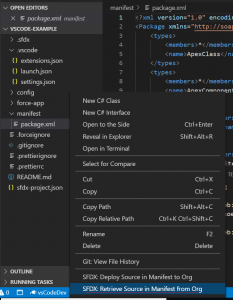
Expand manifest folder and select package.xml.
Right-click and choose an option “SFDX: Retrieve Source in Manifest from org”
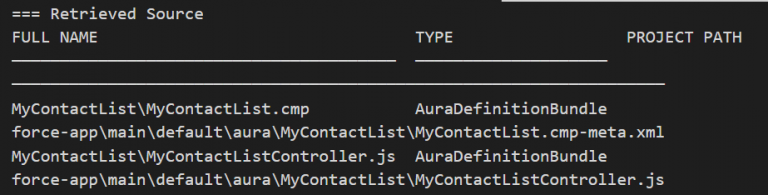
InfoThat command above will retrieve all files such as apex, aura, trigger files from Salesforce into local project folder. If successful, it has output similar to below:
4. Deploy a Single File to Salesforce
After finish makes some changes in the file and would like to deploy it to Salesforce.
1. Save the file in VSCode.
2. Then right-click and choose “Deploy this Source to Org”.
If successful, it displays the result like image below in Vscode Output tab.
InfoIf in doubt, check the changes in the Salesforce Developer console.
Create Salesforce Files
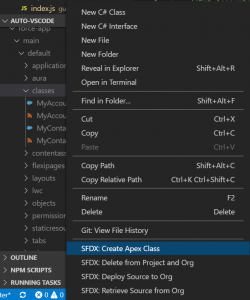
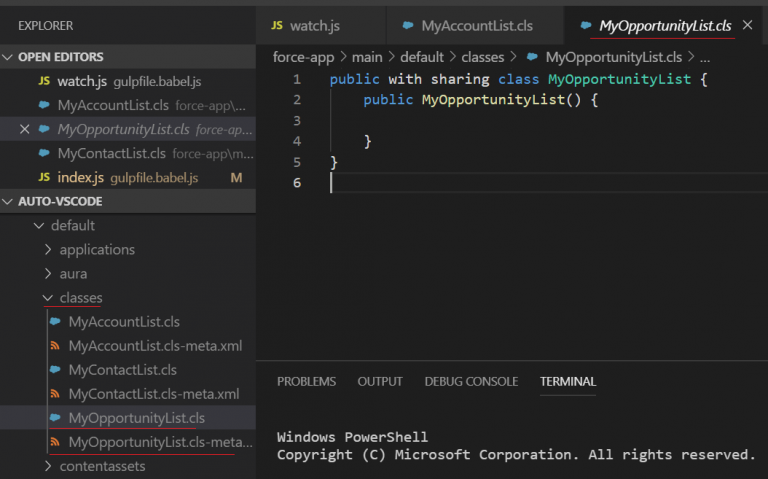
VSCode can create any type Salesforce files. However, this post will cover most common ones because the processes are the same. 1. Apex file
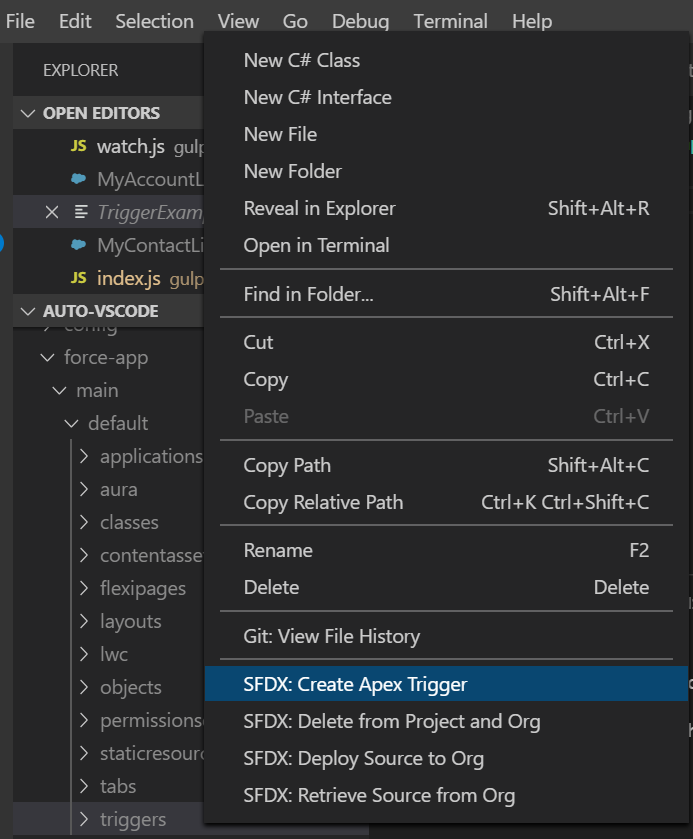
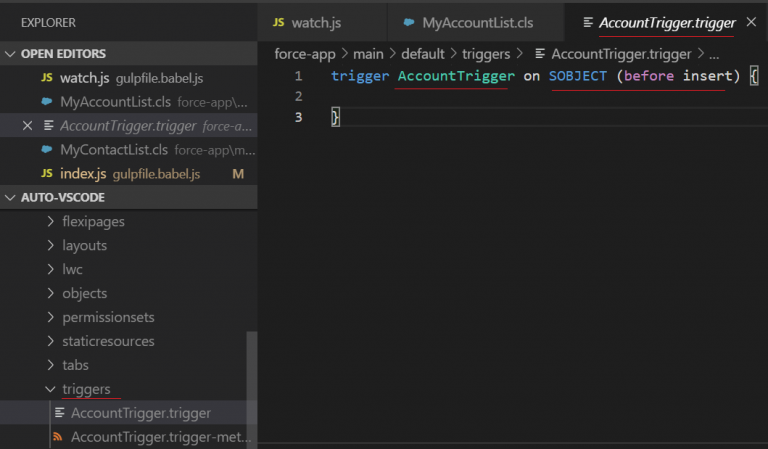
VSCode creates trigger file and insert predefined trigger template.
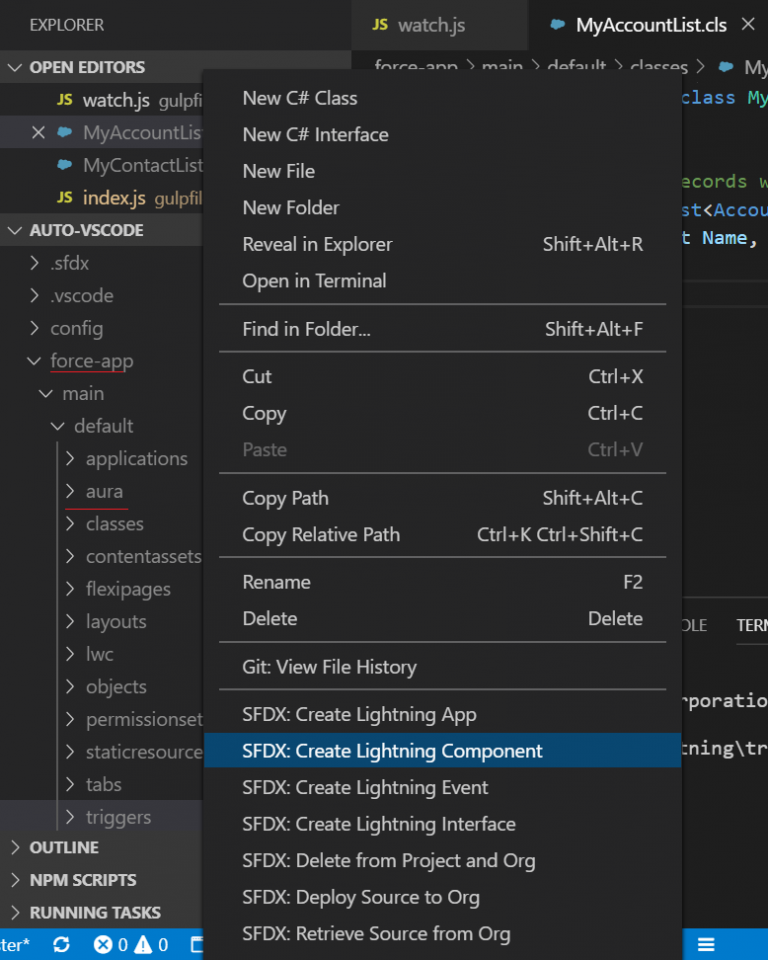
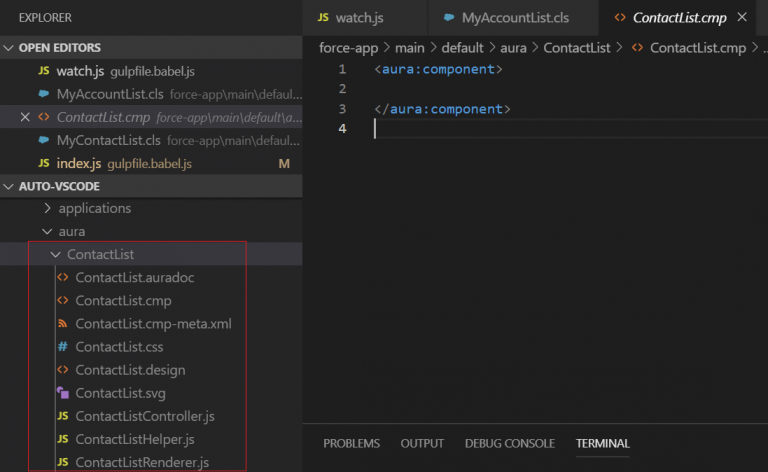
3. Aura components
InfoThere are different types of Lightning components ( App, Component, Event, and more ) from the menu. Choose Aura type that is needed and VSCode will add necessary folders and files respectively.
NoteThis post gives example to create Lightning component
Put Aura component name in prompted command pallete.
Press Enter in prompted folder location.
VSCode creates folder and its related files.
Handy Tips
Re-authorize org using Alias
If we are away from the computer. Occasionally, Salesforce requires to re-authorize the org again. However, there is a shortcut for that process by following steps below:
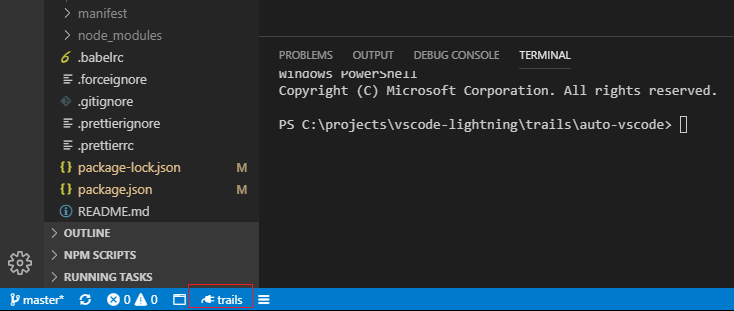
1. Select an icon at the bottom of the page
2. It prompts the command palette with a list of an alias that has made locally. Choose the one that you want to use. Example below, choose cwpack1
InfoThrough this shortcut, it is automatically re-authorize using an user that is saved in alias