Intro and Setup Gulp Task Runner
This post will cover the following topics:
- What is Gulp
- Install Node.js and npm
- Create a package.json file
- Install and configure Gulp version 4.x
What is Gulp?
Gulp is a Javascript task runner to automate repetitive works. There are other popular task runners such as Grunt. However, I prefer Gulp as my favourite tasks runner because it has a simpler syntax. Hence, it is easier to learn and implement.
Before configure and create gulp, gulp requires to use Node.js and npm packages. Therefore, we will start by download and install Node.js and npm.
Headings
Download and Install Node.js and npm
- Download the latest node through this Link.
- Install the installer. By installing Node, it also install npm.
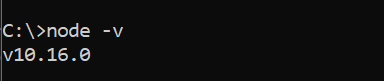
- Verify that node has installed properly. Open up a command prompt and type command below:
node -vIf Node.js is successfully installed, it will display node version number like the image below:
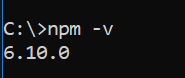
Let’s do the same with npm verification. Type:
npm -vLike node, if npm has installed successfully, it should display npm version number.
The node and npm versions display in those screenshot above reflect current version available as writing this post.
Create a package.json file
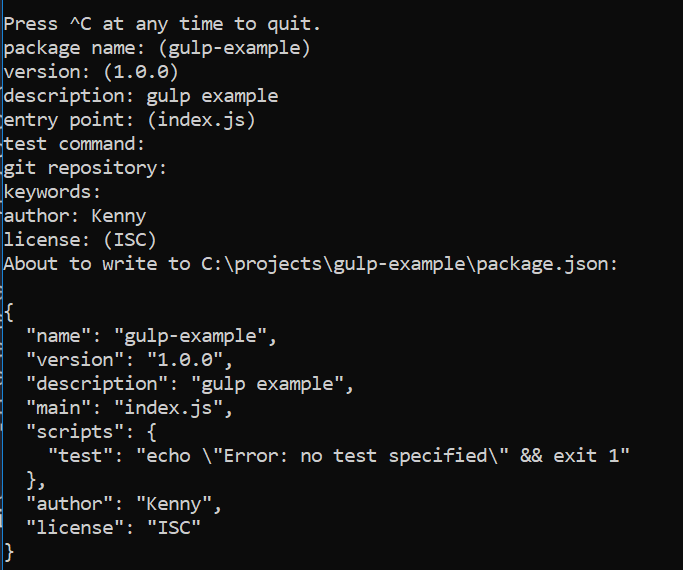
Gulp uses package.json as a map to track required packages and their dependencies within projects. Type following command at command prompt:
npm initIt will ask questions about basic information:
Install Gulp 4.x
Gulp needs to be installed local and global.
- local – packages exist in the project
- global – packages that are installed in the computer
Install gulp locally, type command below:
npm install --save-dev gulpAfter execute command above, it has output similar like the following:

Install gulp globally, type command below:
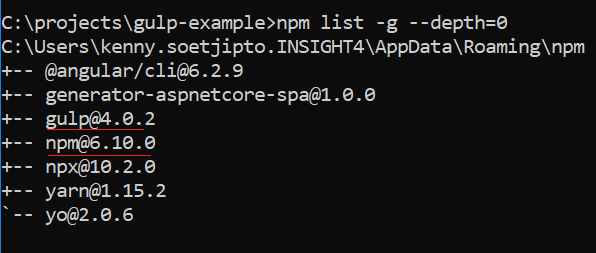
npm install -g gulpTo verify if gulp has installed globally, type the following command in command prompt
npm list -g --depth=0After execute command above, it prints out result below: